Amplifier Rebuild Service
What happens to your amplifier when it comes to AE Techron to be rebuilt?
This process is available for most Techron and
AE Techron amplifiers built in the last 30 years
Although the specific details will differ from model to model, the basic rebuild process is the same: A) Replace parts that are worn or may be worn, B) Test to verify amplifier performance, and C) Place the amplifier under the coverage of a "parts and labor" factory warranty.
The following example details the AE Techron process of rebuilding a Model 7782 amplifier.
After being received and unboxed, an initial inspection is done (photo 1) to verify that your unit has arrived safely. Once the incoming inspection is complete, the amplifier is assigned to a technician. The technician performs an initial disassembly (photo 2 &3) removing the front, side, bottom, top and back panels, and the main circuit board.
During this initial disassembly process, the technician also begins his examination of your amplifier. The technician makes note of your amplifier's revision level, and determines what extra parts will be needed to bring the amplifier up to the latest revision level. Any unusual wear or contamination will also be noted.
With the initial analysis done, the core of your amplifier is sent on to our production area for further disassembly. The heat sink assemblies that hold the output transistors are removed from the amplifier chassis (photo 4). After each of the four heat sink assemblies have been removed from the amplifier, the output transistors, driver transistors, and old heat sink compound are removed from each heat sink assembly and discarded (photo 5).
These output transistors and driver transistors will be replaced with new, latest-revision parts. This is the most important part of the rebuild. These transistors are the parts that do the actual work of the amplifier. These parts create heat and suffer from thermal wear. Because of this, these parts are the ones most likely to fail over time.
After the old output transistors and driver transistors are removed, the circuit boards are scrubbed with a special circuit board cleaner and deoxidization chemical (photo 6). This removal of dirt, corrosive deposits and oxidization from the circuit boards is another important step to ensure that the rebuilt amplifier will have a long, trouble-free life once it leaves AE Techron.
After all of the output transistors and driver transistors have been replaced, then the lower part of the amplifier is rebuilt. The cooling fans are replaced, and the fan covers receive new filter material. This is done to make sure that the newly cleaned and rebuilt amplifier will stay clean and running at its best long after it is back in service.
With this work done, the amplifier is returned to the assigned service technician (photo 7). While the amplifier core has been cleaned and rebuilt, the service technician has been working on the main circuit board (photo 8). The technician has upgraded the board to the latest revision and has replaced worn parts. Other parts that have been known to have the potential to cause reliability problems in that model of amplifier are also replaced. In the case of the Model 7782, this includes the trimmer pots, which are replaced with precision resistors. Certain brands of electrolytic capacitors, if found in the amplifier, are also removed and replaced.
The next step in the amplifier rebuild is to bring all of the rebuilt assemblies back together to create a single working amplifier. First, the rebuilt output wells and the updated main circuit board are reinstalled (photo 9). Once these parts have been reassembled, low-power testing begins (photo 10).
Testing begins by verifying that no accidental shorts exist. These checks will include verification of impedances between output transistors, emitter resistors and ground. After this initial testing, the amplifier is powered up and additional tests and adjustments of DC offset, bias, and protection circuits are performed.
When everything checks out, the amplifier moves on to the burn-in station. At the burn-in station (photo 11), the amplifier undergoes a comprehensive, computer-controlled, 24-hour burn in. The burn-in time is divided into eight, four-hour cycles, alternating between pulsed and continuous power.
Pulsed cycles are timed so that the amplifier goes from cold to just short of thermal shut-off. This type of testing will expose any undiscovered issues that could be aggravated by thermal expansion (i.e., cracked traces on a PCB).
The continuous power testing checks the amplifier's long-term thermal performance. This testing will verify that all output transistors have been mounted with the correct torque and have sufficient heat-sink compound. It will also reveal new parts that might experience infant mortality, or existing parts that may have tested well, but were marginal.
The burn-in testing is the same testing as is done with any AE Techron remanufactured amplifier (photo 12). Because of this rigorous testing, AE Techron is confident with the results, and places all rebuilt amplifiers back under warranty.
With testing complete, the Proof of Performance or PoP sheet is created (photo 13), and the newly rebuilt amplifier is sent to shipping.
The newly rebuilt and tested amplifier is packaged for shipment back to you, to provide many more years of reliable service (photo 14).
Contact the AE Techron Service Department
to schedule your amplifier rebuild
Call our Service Department at +1 574-350-2393.
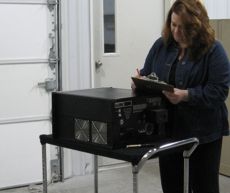
1. Amplifier check-in
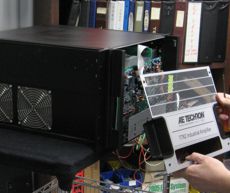
2. Amplifier disassembly
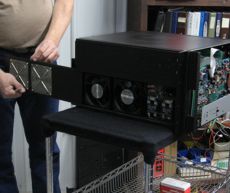
3. Amplifier disassembly
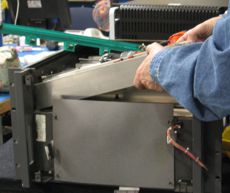
4. Heat sink removal
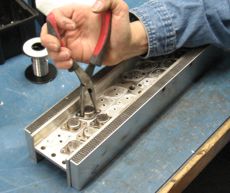
5. Removing transistors
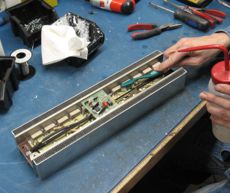
6. Cleaning the circuit boards
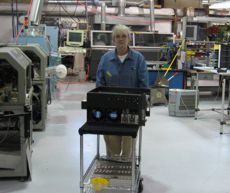
7. Amplifier returned to Service Technician
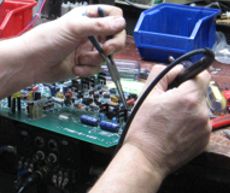
8. Testing the main circuit board
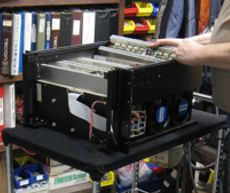
9. Installing the rebuilt output wells
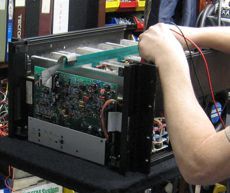
10. Low-power testing
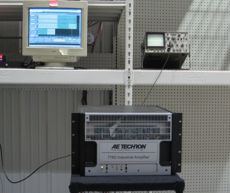
11. Amplifier burn-in
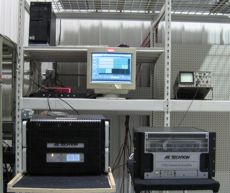
12. Amplifier burn-in
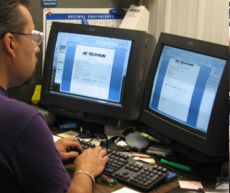
13. Proof of Performance
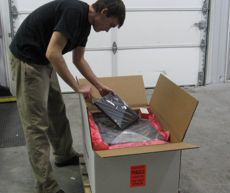
14. Completed rebuild
Want to discuss a product or application?
Our knowledgeable sales and support staff can help find the right system for your needs.
We're the audio-bandwidth experts.
