3110A Software
Standard Waveform Generator Demo Software
Controller Interface and
Remote Control Software
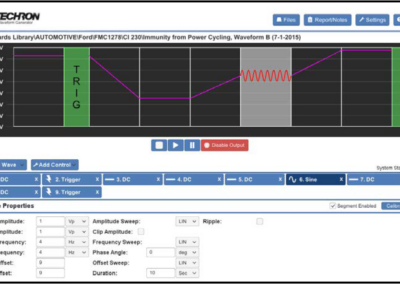
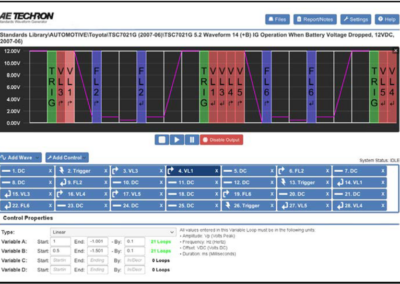
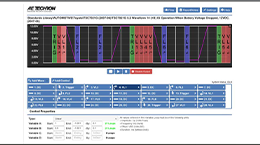
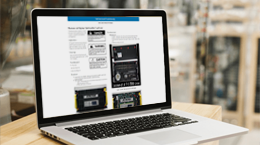
AE Techron’s powerful 3110A Standards Waveform Generator features an intuitive interface that makes it easy to load, alter and create custom waveform sequences and Standards tests. The drag-and-drop interface is versatile yet very easy to learn and use, greatly reducing the time required for test creation and editing.
SWG Remote software, which functions the same as the 3110A controller interface, is also included with each unit. It can be installed on an unlimited number of workstations to provide remote control of the 3110A and allow test files to be created or edited offline.
The 3110A also ships with an extensive library of tests for many automotive and aviation Standards. Test files can be edited, if desired, and then saved as custom tests. Automate a series of tests by loading them into one file; insert GPIO triggers and output segments to communicate remotely with other test equipment.
Program Features:
- Easiest-to-use LF wave sequence generator
- 3000+ automotive and aviation standards’ tests included
- Dramatically reduces test time for repetitive test sequences
- Semi-automatic calibration routine significantly reduces labor-intensive tasks (like CS101)
- Very easy to modify included waveform sequences or create new ones
Demo Software (WIN 7, 10, or 11):
The free Demo software provided here is a limited version of the SWG Remote software. The “Save File” command and some functions that require the 3110A hardware have been disabled, but all other capabilities of the full version have been retained. Sample test files from the 3110A’s Standards Library have been included with the Demo software.
OVERVIEW
The 3110A software is built around the simple concept of a waveform segment. Each waveform segment can have a unique waveform, (sine, square, triangle, and/or DC offset). Frequency, amplitude and DC offset can be clipped, fixed, variable or swept. Segments can be calibrated (as required in CS101) and set to continue on to the next segment or to hold for an external trigger. Individual segments can be as short as 50 μs or as long as 144 hours.
The power of the system occurs when waveform segments are linked to create test sequences. These test sequences can be of any length and can be run as a single sequence, looped, or looped with multiple variables changing within the test sequence (as required in multiple Toyota and GM standards). Finally, multiple sequences can be combined to create a single customized extended test.
INSTALLATION INSTRUCTIONS
The AE Techron 3110A Demo software can be installed on PC workstations running Microsoft Windows versions 7, 10 or 11. Because the Demo software requires significant video processing, the performance of other programs running simultaneously on the PC may be noticably diminished. We recommend that you close other programs when running the Demo software and close the Demo when finished to free those resources for other applications.
The Demo software can be safely installed on computers containing a working copy of the AE Techron 3110A Remote software. The Demo will be installed in a different location on the workstation and will not affect any settings or files associated with the 3110A Remote software.
Complete the following steps to download and install the 3110A Demo Software:
- Click on the Download Demo Software button.
- When prompted, save the zip file to your local hard drive or another location of your choice.
- Extract the SWG_Demo.exe file from the zip file.
- Open the software installation file and, when prompted, select Run to run the installation program.
NOTE: A Security Warning may appear because the Demo software currently is NOT signed (we’re working on that). It’s ok to go ahead and select “Run.” - In the next window, you can choose to not add a start-up shortcut for the Demo to your desktop by de-selecting the checked box, or leave the box checked to create the shortcut. Then press the Next button to continue.
- Press the Install button in the next window to begin the installation.
- In the next window, press the Finish button to close the installation window and launch the Demo program. You can choose to not automatically launch the Demo software by de-selecting the checked box before you press the Finish button.

